Your garage is probably hiding behind a wall of boxes right now.
You’re not alone. Most garages turn into dumping grounds the moment we move in. We tell ourselves we’ll organize it later. Later never comes.
I’ve seen this pattern play out in home after home. The garage becomes the place where things go to disappear. Tools you can’t find. Seasonal items buried under junk. Cars that haven’t parked inside in years.
It doesn’t have to be this way.
I’m going to show you how to take back that space. Not with some complicated system you’ll abandon in a week. With a simple framework that actually works.
At Liv Prist House, we focus on making everyday spaces work better. We apply the same principles to garages that we do to any room worth showing off. Function first. Then beauty follows.
This guide gives you a clear path from chaos to order. You’ll learn how to sort through the mess, set up zones that make sense, and create a garage that actually serves your life.
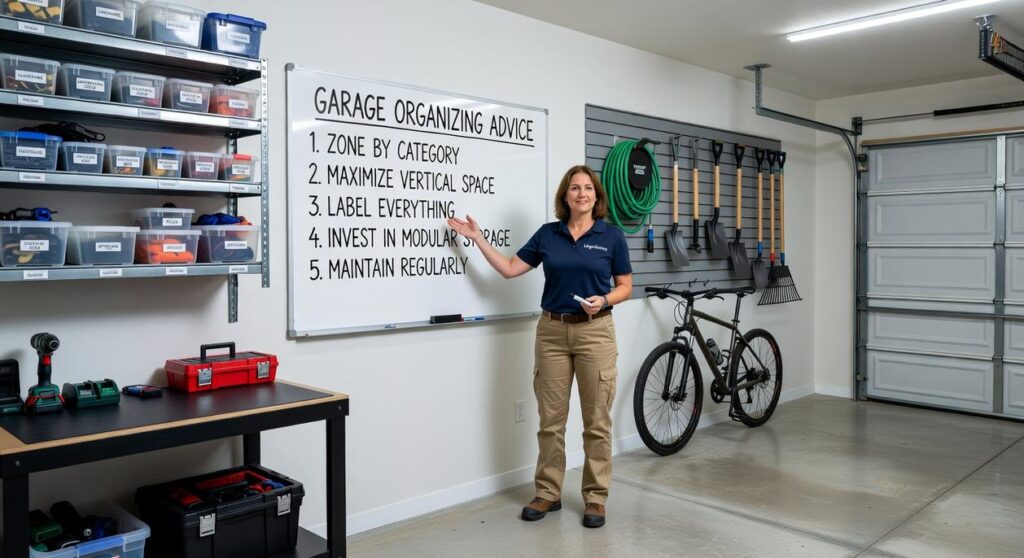
No fluff. Just garage organizing advice livpristhouse that you can start using today.
By the end, you’ll have a garage you can walk into without cringing. Maybe even one you’re proud of.
Step 1: The Blueprint – Define Your Garage’s Purpose
I stood in my garage last spring staring at a wall of boxes I hadn’t opened in three years.
You know that moment when you realize you’ve been storing stuff just because you have the space? That was me.
I wanted a workshop. But I also needed room for my car (wild concept, I know). And my wife kept talking about turning part of it into a home gym.
Here’s what I learned. You can’t organize a garage until you know what it’s actually for.
Some people say garages should only be for cars. That storing anything else is just clutter creeping in. And sure, if you’ve got a classic Mustang, I get it.
But most of us? We need our garages to do more than one thing.
Start with a vision. Write down every activity you want to happen in that space. For me it was woodworking, parking one vehicle, and storing seasonal gear.
That list matters because it tells you what stays and what goes.
Next, I grabbed a tape measure and sketched out the floor plan on graph paper. Nothing fancy. Just the dimensions, where the door opens, where the outlets are. (Turns out I had way less usable space than I thought.)
This is where most garage organizing advice livpristhouse focuses on gets real. You can’t buy storage solutions until you know what you’re working with.
I broke the whole project into weekend chunks. One Saturday for sorting. Another for installing shelves. Small steps kept me from giving up halfway through.
The goal isn’t perfection on day one. It’s making your garage actually work for how you live.
Step 2: The Purge – A Ruthless Approach to Decluttering
This is where it gets real.
You’ve got your garage empty and clean. Now comes the part most people dread.
Deciding what stays and what goes.
I’ll be honest with you. There’s no perfect system for this. Some experts swear by the one-year rule. Others say if it sparks joy, keep it. And some garage organizing advice Livpristhouse suggests being even more strict.
The truth? What works depends on your situation.
But here’s what I’ve found helps most people actually finish the job instead of giving up halfway through.
The Four-Bin Method
Set up four areas in your driveway or yard. Label them Keep, Donate, Relocate, and Discard.
Simple as that.
The Relocate bin is for stuff that belongs in your house or shed. Not the garage. You’d be surprised how much migrates out there over time (holiday decorations that should be in the attic, tools that belong in the basement).
Work One Section at a Time
Pick a corner or wall. Pull everything out from that spot.
Every single thing.
Then make a decision before you touch the next section. Don’t skip around. Don’t get distracted by that box of old photos.
Stay focused on one area until it’s done.
Ask Yourself the Hard Questions
Have I used this in the last year? Do I have three of these when I only need one? Is it broken or will I actually fix it?
Here’s where I’m not entirely sure there’s a right answer. That camping gear you haven’t touched in five years but swear you’ll use next summer? Maybe you will. Or maybe you’re just holding onto the idea of who you wish you were.
Only you can make that call.
Handle the Tricky Stuff Properly
Old paint cans, batteries, motor oil, electronics. You can’t just toss them in the trash. I put these concepts into practice in Garage Cleaning Advice Livpristhouse.
Check your local waste management website for disposal guidelines. Most cities have collection days for hazardous materials. Some even pick up electronics for free.
It takes an extra step, but it’s the right way to do it.
Step 3: Create Zones (The Secret to Sustainable Organization)
Here’s where most people mess up.
They clean out their garage and then just start putting stuff back wherever it fits. Six months later, they’re right back where they started.
You need zones.
Think of it like designing a store. Every section has a purpose. You wouldn’t find hammers next to holiday decorations at Home Depot (well, you shouldn’t anyway).
Your garage works the same way.
Start with the categories you already sorted. Now give each one a home.
Car care products go together. Oil, wash supplies, tire inflator. One zone.
Gardening supplies get their own spot. Seeds, soil, pots, hand tools. Another zone.
Tools and DIY projects need dedicated space. Power tools, hardware, paint supplies. You get the idea.
Sports and recreational gear cluster up. Bikes, balls, camping equipment. Keep them separate from everything else.
Seasonal and long-term storage goes in the back. Christmas decorations, winter clothes, stuff you touch twice a year.
Now here’s the part that actually matters.
Put the things you use every day where you can grab them without thinking. Eye level. Front and center. That’s your prime real estate.
The camping tent you use twice a year? Upper shelf. Deep storage. Out of the way.
I learned this the hard way after storing my ladder behind a wall of boxes. Needed it three times in one week and moved those boxes every single time.
Make sure you can actually walk through your garage too. Clear pathways to your car doors, trash bins, and the house entry aren’t optional. They’re part of good property preservation livpristhouse practices.
Pro tip: Stand at your garage door and imagine your most common tasks. Getting in the car. Grabbing the lawn mower. Finding a screwdriver. Your zones should support those movements, not fight them.
The best garage organizing advice livpristhouse experts give? Design your zones around how you actually live, not how you think you should live.
Because a system that looks perfect but doesn’t match your routine? That’s just another mess waiting to happen.
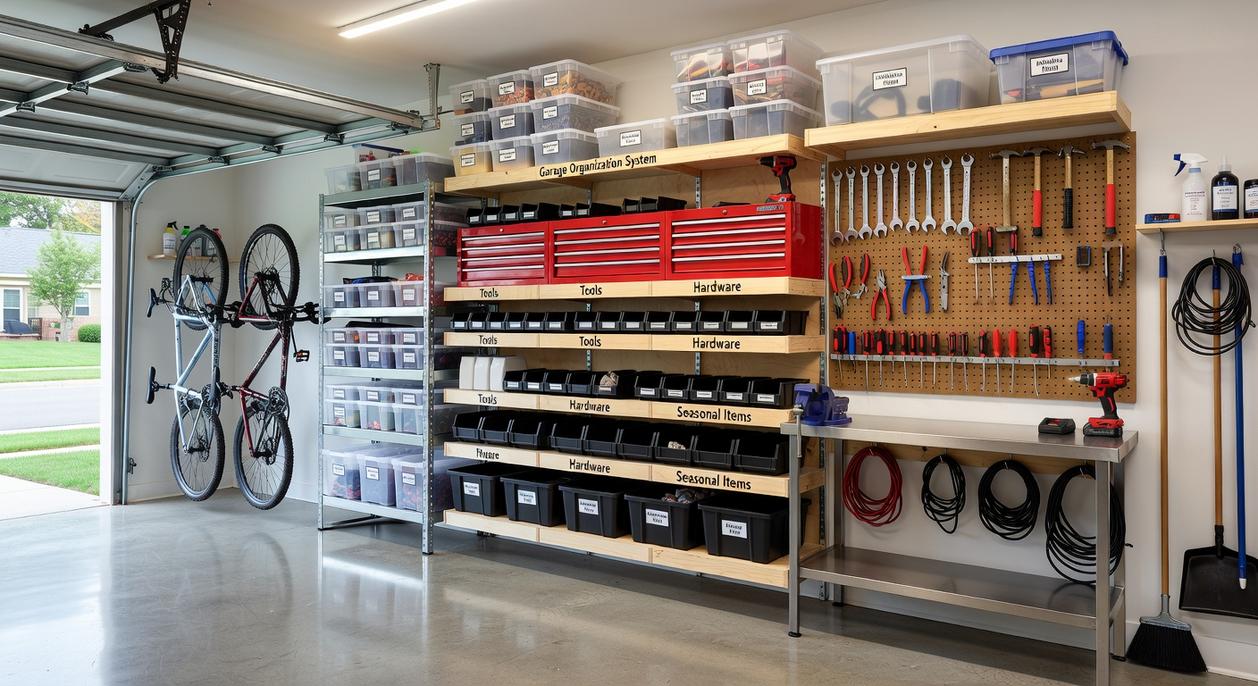
Step 4: Go Vertical – Maximize Your Storage Real Estate
Your walls aren’t doing enough work.
I see it every time I walk into a garage. Floor space packed tight with boxes and bins while perfectly good wall space sits empty. It doesn’t make sense.
Here’s what the data shows. According to a 2022 study by the National Association of Home Builders, the average two-car garage has about 400 square feet of floor space but over 800 square feet of usable wall area when you count both walls up to eight feet high.
You’re leaving half your storage potential unused.
Some people argue that wall storage is too expensive or too complicated to install. They say it’s easier to just stack things on the floor and call it done.
But here’s what they’re missing. Floor storage costs you in a different way. You can’t find what you need. You can’t park your car. And you waste time moving stuff around every time you need something from the back.
Open shelving works when you need quick access. I’m talking about the things you grab weekly or monthly. Kids’ sports gear, gardening supplies, camping equipment. I walk through this step by step in How to Clean Your Garage Livpristhouse.
A study from Closets Magazine found that homeowners who installed wall-mounted shelving systems reduced their item retrieval time by 60% compared to floor-based storage. That’s real time you get back.
Cabinets handle the ugly stuff. Paint cans, chemicals, half-used bottles of who knows what. Anything that makes your garage look like a hazmat site goes behind doors.
Track systems give you flexibility you can’t get with fixed shelves. You can move hooks and baskets around as your needs change. No drilling new holes every time you buy a new bike or ladder.
Overhead racks are your secret weapon for seasonal items. Holiday decorations, winter gear in summer, camping equipment in winter. The Container Store reports that ceiling-mounted storage can free up 16 square feet of floor space per rack.
That’s enough room to actually walk through your garage.
Look, I get it. Installing wall systems takes effort. But you do it once and you’re done. Compare that to reorganizing floor piles every few months because nothing stays put.
Pro tip: Start with one wall. Pick the wall you see first when you open the garage door. Get that one right and you’ll want to do the rest.
The math is simple. More wall storage means less floor clutter. And when you follow solid garage organizing advice livpristhouse principles, you turn wasted vertical space into your best storage asset.
Your walls are waiting. Put them to work.
Step 5: The Finishing Touches
I’ll be honest with you.
The first time I organized my garage in Greenwood, I thought I was done after sorting everything into zones. Felt pretty good about it too.
Then I walked in there one evening to grab a tool and couldn’t see a thing. The single overhead bulb made everything look like a cave. I realized I’d done all that work but the space still felt like a dungeon.
That’s when I learned something important.
The real difference between a garage that stays organized and one that falls apart in three weeks? It’s the finishing touches.
Start with your lighting. Swap out those dim bulbs for LED shop lights. I put up two four-foot fixtures and the difference was night and day (literally). You can actually see what you’re doing. Plus it makes the whole space feel safer when you’re working late.
Your floor matters more than you think. I know concrete seems fine. But after you spill oil or track in mud a few times, you’ll wish you’d done something about it. Epoxy coating or interlocking tiles protect the surface and make cleanup take about two minutes instead of twenty.
Here’s the part most people skip.
Label everything. Every bin. Every drawer. Every shelf section. I use a simple label maker but masking tape and a marker work just fine. This single step is what keeps my garage from turning back into chaos. When something has a name on it, you actually put it back there.
Some folks say labeling is overkill. They think they’ll remember where everything goes. But six months later when you need that specific drill bit? You won’t remember. Trust me on this one.
Set up a 10-minute weekly reset. Pick a day. I do mine on Sunday mornings before things get busy. Walk through and put anything that’s wandered back to its zone. It’s like how to clean a mop livpristhouse teaches you about maintenance. Small regular effort beats big occasional overhauls.
The same principle applies to garage organizing advice livpristhouse style. You maintain what you’ve built instead of starting over every few months.
These finishing touches take maybe an afternoon and a couple hundred bucks. But they’re what turn your organized garage into one that actually stays that way.
Enjoy Your Newly Optimized Space
You now have the complete method to conquer garage chaos for good.
I created Liv Prist House to help people reclaim spaces that had become dumping grounds. Your garage was probably one of them.
By following these steps (planning, purging, zoning, and storing vertically) you’ve turned a stressful mess into something that actually works for you.
An organized garage saves you time every single day. You know where things are. You can park your car inside again. You’ve added usable square footage to your home without spending thousands on an addition.
That’s real value.
Take a moment to appreciate what you’ve built here. Walk into your garage and notice how different it feels. No more anxiety when you open the door.
This is what garage organizing advice livpristhouse is all about. Creating systems that stick and spaces that serve you.
Your next step is simple: maintain what you’ve created. Spend five minutes each week putting things back where they belong. That’s it.
You’ve done the hard work. Now enjoy the peace of mind that comes with a home that’s truly organized.
 Founder & Creative Director
Kylor Dornhaven is the kind of writer who genuinely cannot publish something without checking it twice. Maybe three times. They came to home inspiration headlines through years of hands-on work rather than theory, which means the things they writes about — Home Inspiration Headlines, Interior Trends and Layout Ideas, Essential Living Concepts and Styles, among other areas — are things they has actually tested, questioned, and revised opinions on more than once.
That shows in the work. Kylor's pieces tend to go a level deeper than most. Not in a way that becomes unreadable, but in a way that makes you realize you'd been missing something important. They has a habit of finding the detail that everybody else glosses over and making it the center of the story — which sounds simple, but takes a rare combination of curiosity and patience to pull off consistently. The writing never feels rushed. It feels like someone who sat with the subject long enough to actually understand it.
Outside of specific topics, what Kylor cares about most is whether the reader walks away with something useful. Not impressed. Not entertained. Useful. That's a harder bar to clear than it sounds, and they clears it more often than not — which is why readers tend to remember Kylor's articles long after they've forgotten the headline.
Founder & Creative Director
Kylor Dornhaven is the kind of writer who genuinely cannot publish something without checking it twice. Maybe three times. They came to home inspiration headlines through years of hands-on work rather than theory, which means the things they writes about — Home Inspiration Headlines, Interior Trends and Layout Ideas, Essential Living Concepts and Styles, among other areas — are things they has actually tested, questioned, and revised opinions on more than once.
That shows in the work. Kylor's pieces tend to go a level deeper than most. Not in a way that becomes unreadable, but in a way that makes you realize you'd been missing something important. They has a habit of finding the detail that everybody else glosses over and making it the center of the story — which sounds simple, but takes a rare combination of curiosity and patience to pull off consistently. The writing never feels rushed. It feels like someone who sat with the subject long enough to actually understand it.
Outside of specific topics, what Kylor cares about most is whether the reader walks away with something useful. Not impressed. Not entertained. Useful. That's a harder bar to clear than it sounds, and they clears it more often than not — which is why readers tend to remember Kylor's articles long after they've forgotten the headline.